

Uncategorized
DIY Custom Sticker Decals – How to Make Your Own Personalized Stickers
Hey everyone,
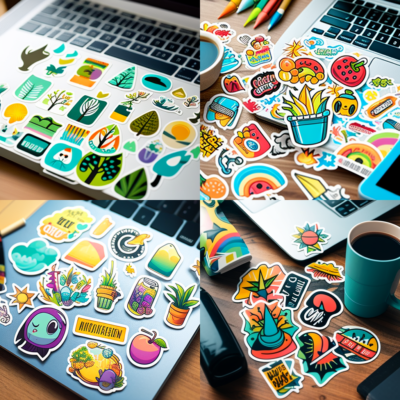
Today, I’m excited to show you how to create your own custom sticker decals. Whether you want to personalize your laptop, water bottle, or phone case, sticker decals are a great way to add a touch of your own style. Plus, they’re super easy to make! So, let’s get started.
Materials Needed: Before we begin, here are the materials you’ll need:
- Sticker paper
- Printer
- Cutting tool (scissors, craft knife, or cutting machine)
- Graphic design software (or a phone app)
Step 1: Design Your Sticker Decal The first step is to create your sticker design. You can use any graphic design software you’re comfortable with, such as Adobe Illustrator or Canva. Alternatively, you can even use a phone app like PicsArt or Procreate.
Start by opening a new document and setting the dimensions to the size of your sticker paper. Then, let your creativity run wild and design your sticker! You can use any image, text, or shape that you like. For example, you can use a photo of your pet, a funny meme, or a motivational quote.
Once you’re happy with your design, save it as a high-resolution image in PNG format. This will ensure that your sticker will look sharp and clear when printed.
Step 2: Print Your Sticker Decal Now that your design is ready, it’s time to print it on the sticker paper. Load the sticker paper into your printer, making sure that the adhesive side is facing the right way. Then, print your design onto the sticker paper.
If you’re using a cutting machine, you can also use the machine’s software to print and cut your sticker at the same time.
Step 3: Cut Your Sticker Decal Once your design is printed, it’s time to cut it out. You can use a pair of scissors, a craft knife, or a cutting machine to do this. If you’re using scissors or a craft knife, carefully cut around the edges of your design, leaving a small border of white space.
If you’re using a cutting machine, simply load your printed sticker paper into the machine and let it do the cutting for you.
Step 4: Apply Your Sticker Decal Now that your sticker decal is ready, it’s time to apply it to your desired surface. First, clean the surface with a damp cloth to ensure that it’s free of any dust or debris. Then, carefully peel off the backing paper from your sticker, making sure that the sticker itself doesn’t stick to the paper.
Place the sticker onto the surface, starting from one edge and smoothing it out with your fingers as you go. If you make a mistake, you can always peel the sticker off and reapply it.
Step 5: Enjoy Your Custom Sticker Decal Congratulations! You’ve successfully created your own custom sticker decal. Now, enjoy it on your laptop, water bottle, or phone case.